

Start with OrchidLore’s beginner guides, then move to the best first-orchid article, which will point you toward forgiving Phalaenopsis; after that, use the store-selection and root-health pieces to build observational habits, because plump roots, firm leaves, and clean media matter more than blooms. Next, take in potting mix basics, simple fertilizer rules, reblooming guidance, and seasonal shift care, since these articles teach the cultivated restraint that prevents stagnant decline and prepares you for finer distinctions.
- Key Takeaways
- Start With OrchidLore’s Beginner Guides
- Read the Best First-Orchid Article
- Choose a Healthy Orchid at the Store
- Learn What Healthy Roots Look Like
- Read the Potting Mix Basics
- Read the Repotting Guide Next
- Fix Common Orchid Watering Mistakes
- Get Light and Temperature Right
- Balance Humidity and Airflow
- Follow Simple Fertilizer Rules
- Learn How to Rebloom Orchids
- Handle Seasonal Moves Safely
- Browse the Best Articles by Topic
- Frequently Asked Questions
- Conclusion
Key Takeaways
- Start with Phalaenopsis beginner articles, since moth orchids are widely available, forgiving, and often rebloom within months under stable care.
- Read store-selection guides first to learn how roots, leaves, and smells reveal orchid health beyond the blooms.
- Prioritize root and foliage diagnostic articles, especially signs like plump silvery-green roots, firm leaves, and warning odors from old media.
- Next, read potting-mix and pot-choice articles to match bark size, moisture retention, and airflow to your home conditions.
- Finish with repotting and basic care articles covering watering, humidity, airflow, and timing repots when new roots begin growing.
Start With OrchidLore’s Beginner Guides
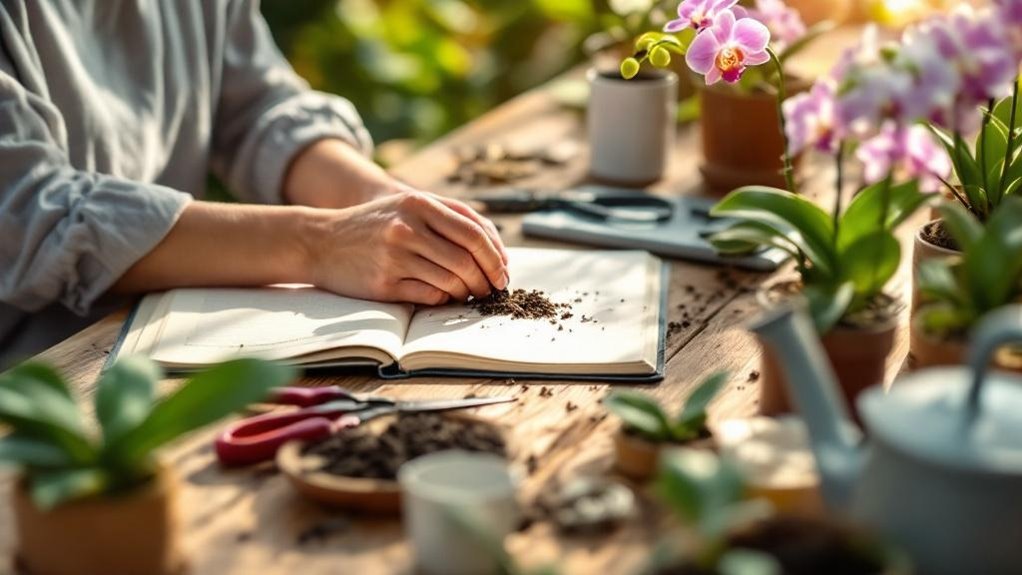
To begin, OrchidLore’s beginner guides give you a cultivated framework for choosing and keeping a first orchid, and they sensibly place Phalaenopsis, or moth orchids, at the center of that advice because these plants are widely available, comparatively forgiving, and often capable of reblooming within months under stable care.
For Growing orchids, you should inspect roots first, preferably through clear pots; plump roots suggest health, while flat, shriveled ones indicate stagnant trouble. You’ll also avoid preventable setbacks by using orchid media, such as bark, sphagnum, and perlite, never regular soil, and by repotting when decay odors appear or roots crowd the container.
Maintain about 50 percent humidity, water weekly after partial drying, use brief submersion if needed, and provide bright, indirect light with warm days and slightly cooler nights. A quiet, well-lit corner can also support steady observational focus while you learn to read each plant’s changing roots, leaves, and blooms.
Read the Best First-Orchid Article
Set aside a few minutes for OrchidLore’s recommended beginner article, because it gives you the most cultivated starting point by naming Phalaenopsis, or moth orchids, as the best first choice; they’re widely available, especially forgiving of minor care errors, and often capable of reblooming within months when conditions remain stable rather than stagnant.
Then read with an observational focus: inspect roots first, because plump roots suggest resilience, while flat or shriveled roots indicate trouble; smell the medium, since mushroom or decay odors show breakdown and signal repotting after flowering. You should also note the practical care framework it outlines, weekly watering in many homes, roughly 50 percent humidity indoors, and the bucket-soak method in warm water for about thirty minutes. Finish by studying placement, bright indirect light, warm days, cooler nights, and gentle air movement. In a broader cultural sense, orchids also belong to the Four Gentlemen, where they symbolize integrity, humility, and disciplined inward life.
Choose a Healthy Orchid at the Store
When you choose an orchid at the store, check the roots first, because plump, numerous roots visible through a clear pot usually indicate a cultivated plant with stronger prospects, while flat or shriveled roots often point to decline.
Then inspect the leaves and stems with an observational eye; firm, slightly leathery leaves and sound stems suggest steady hydration, whereas wrinkled foliage can reflect root trouble, and a mushroomy or sour smell from the medium may signal stagnant, decomposed mix.
You shouldn’t let the blooms make the decision for you, since even a showy display can conceal underlying problems, and blue Phalaenopsis flowers may be temporarily dyed rather than naturally colored.
For ritual use, fresh vibrant blooms can better support the intended symbolism of beauty, renewal, and positive energy.
Check Roots First
Begin with the roots, because they give the clearest observational evidence of an orchid’s real condition; flowers are temporary and often misleading, but a plant with many plump, turgid roots is usually vigorous enough to recover from minor stress and rebloom under cultivated care.
When you check the roots, prefer orchids in clear plastic pots, since visible roots let you judge vigor without disturbing the plant; avoid any specimen with mushy, brown, or black roots, because rot spreads quietly in stagnant media. Smell the potting mix as well; an earthy, mushroom-like odor suggests decomposition and signals repotting soon.
You should also note how the roots occupy the pot, because a healthy system fills the container without becoming crammed, while tight packing often conceals stress and makes attractive blooms an unreliable guide for buyers. In orchid lore, this cultivated rarity is part of why these plants have long been linked to status and careful stewardship.
Inspect Leaves And Stems
Although roots reveal the orchid’s underlying vigor most directly, the leaves and stems confirm how that vigor is expressing itself above the pot; you should look for leaves that are bright to medium green rather than dark, overly lush foliage, because deep green often reflects insufficient light, while healthy leaves feel slightly firm and leathery, a useful sign that the plant is hydrated and growing under reasonably balanced conditions.
As you inspect leaves and stems, note any wrinkling or puckering, since that often signals dehydration, compromised roots, or recent neglect and may alter the plant needs. Check leaf bases, stems, and the crown for soft tissue, brown or black lesions, or stagnant moisture. Observe new growths and cultivated sheaths; they should stay compact and clean. Bend stems gently; they should flex, not flop or crack. In some traditions, orchids such as Dendrobium stems have also been valued for restorative herbal preparations, which makes overall plant health even more important to verify.
Learn What Healthy Roots Look Like
Because orchid roots reveal the plant’s condition with unusual clarity, you can make a sound observational judgment by looking for roots that are plump, firm, and covered in a silvery-green velamen while dry, then bright green soon after watering, a cultivated shift in color that signals active hydration and normal function.
When roots look thick and turgid through a clear pot, you’re usually seeing a vigorous plant; flat, shriveled, or mushy roots suggest dehydration or rot. Some exposed roots are normal, even desirable, especially where they cling to bark or extend through drainage holes with steadiness.
You should also smell near the root zone, because a fresh, earthy scent is acceptable, while sour or mushroomy odors often indicate stagnant, decomposing media and stress.
At repotting time, watch for white-tipped or green new aerial roots emerging from the base. Healthy roots matter because orchid conservation depends on protecting plants before stress and rot become harder to reverse.
Read the Potting Mix Basics
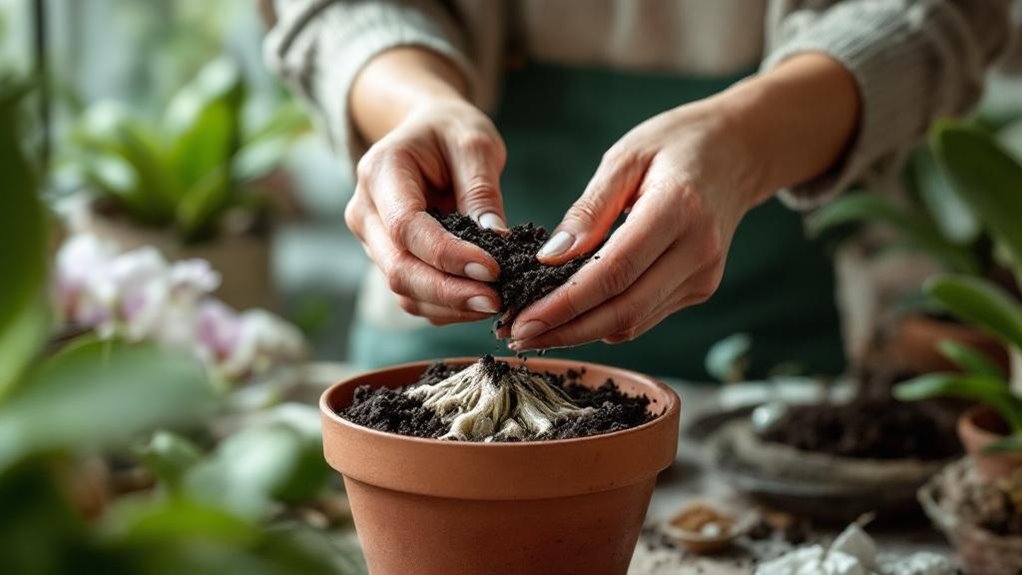
You’ll see why mix matters as soon as you match it to an orchid’s epiphytic habit, because coarse bark, perlite, and sphagnum create large air spaces and brief water reserves, while fine, stagnant media stays compacted and can quietly suffocate roots.
You should aim for a cultivated balance of air and moisture, choosing a coarser blend in humid rooms or when watering is infrequent, and adding a modest amount of sphagnum in drier conditions, because roots adapt to their current medium and respond poorly when that balance is misread.
You’ll also want to watch for repotting time signals with an observational eye, replacing the mix before it decomposes and timing the work to the emergence of new roots, so the plant can establish itself in fresh material without unnecessary setback.
Rare species like the Ghost Orchid show how specialized habitats and fragile root systems make careful culture especially important.
Why Mix Matters
When you choose an orchid mix, you’re deciding how water and air will move around the roots, and that balance shapes nearly every part of the plant’s cultivated life; coarse ingredients such as bark and perlite keep the root zone open and well aerated but dry faster, while finer materials hold moisture longer and can become stagnant if they compact.
Your potting mix also determines how successfully roots establish after repotting, because existing roots adapt poorly to a new medium; you should repot as new roots emerge, so the plant builds roots suited to current conditions. Start with an intermediate-grade mix, then adjust coarseness through observational practice, matching it to humidity, temperature, and watering habits.
Replace media before decomposition advances, because aged, compacted mix loses void space, traps water, and invites rot.
Air And Moisture Balance
Although orchid roots must stay moist enough to function, they also require open void space around them, and that balance is what makes potting mix choice so consequential; fine, compacted media hold water by surface tension and can turn stagnant, while coarse bark and similar materials preserve airflow but shed moisture more quickly.
You should match coarseness to conditions, using finer particles or a little sphagnum in cool, humid rooms, and choosing coarser bark where heat, dryness, or breeze increase evaporation, because roots need plenty of air without chronic drought.
| Condition | Mix adjustment |
|---|---|
| Cool, humid, still | Slightly finer, optional sphagnum |
| Hot, dry, breezy | Coarser bark, faster drainage |
An intermediate-grade blend often proves the most observational and cultivated compromise, retaining enough moisture while preserving aeration.
Repotting Time Signals
Ideally, repotting begins not by the calendar alone but by reading the plant and the medium together; the clearest signal is the appearance of new roots at the base, because those fresh tips will enter and adapt to the new mix while older roots, already cultivated for the previous conditions, often decline after the shift.
- You should repot when you see new roots emerging from the plant base, then those adaptable roots establish quickly.
- Replace mix before it turns stagnant and loses air space, usually within one to three years.
- Time the work for flowering’s end, especially with Phalaenopsis, or as active growth resumes; then match mix coarseness to your home’s humidity, temperature, light, and air movement, which supports stable recovery and reduces observational errors during establishment.
Read the Repotting Guide Next
Before you repot, read the guide with an observational eye, because timing, medium, and container choice govern whether roots expand into a cultivated new space or sit in a stagnant one. You should repot when new roots are emerging from the plant base, since those fresh tips establish quickly in replacement media while older roots decline on their own schedule.
The guide also helps you judge when mix has aged too far, usually within one to three years, because decomposition compacts particles, reduces void space, and limits oxygen around roots. It explains how coarseness should reflect your setting, coarser in humid, still rooms, finer with some sphagnum in dry interiors, and why keeping the same medium type eases shift. Pot choice matters too; drainage is essential, while plastic can moderate dryness in coarse mixes.
Fix Common Orchid Watering Mistakes
Watering mistakes usually come down to one pattern: you keep the medium wet for too long, and roots that need both moisture and air end up in a stagnant space where decline begins quietly.
Correct that pattern with a more observational routine; orchids should dry out between watering, and most homes support about weekly watering, adjusted to conditions.
- Soak the entire pot in warm water for 30 minutes, then drain fully; this bucket method hydrates evenly without leaving constant saturation.
- Use coarse bark or an intermediate mix; cultivated roots need void space, while fine, compacted media holds water and suffocates them.
- Match frequency to species and surroundings, and repot before mix decomposes; a musty, mushroom-like odor often signals hidden water retention and declining root health beneath the surface.
Get Light and Temperature Right
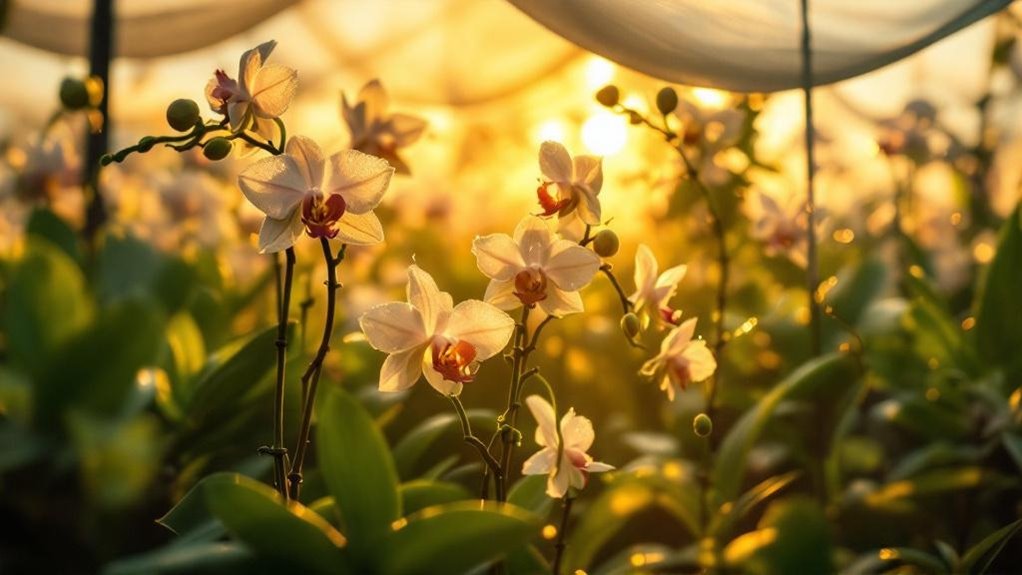
You’ll get stronger growth and cleaner foliage when you place orchids in bright, indirect light, roughly like a north- or east-facing window, because this cultivated balance supports photosynthesis without pushing leaves into scorch.
You should keep temperatures steadily warm by day, with modestly cooler nights when possible, because many orchids respond to that observational contrast with better bud initiation, while gentle air movement and moderate humidity help prevent stagnant heat around the leaves.
When seasons shift, or when you move plants outdoors, you should change light and temperature gradually over days or weeks, because orchids adapt best to measured adjustments rather than abrupt stress.
Bright Indirect Light
Positioning orchids in bright, indirect light establishes the cultivated balance they need for steady growth; direct midday sun scorches leaves and overheats tissue, while full-spectrum LEDs or T5 fluorescents set about 12 inches above the plants provide consistent illumination without burn.
In Orchid Growing, you should rely on leaf color as an observational gauge, because medium green usually reflects proper exposure, dark green suggests insufficient light, and yellowish or red-tinged leaves indicate excess intensity.
- Place plants near filtered windows, where brightness remains strong but softened.
- Check leaves weekly, because color shifts reveal whether your placement still suits them.
- Maintain gentle air movement, which limits stagnant moisture on leaves and crowns, supports transpiration, and helps foliage regulate surface temperature under brighter conditions without adding stress to the cultivated environment.
Stable Warm Temperatures
Light sets the pace for orchid growth, and temperature determines whether that energy supports steady development or turns into stress; most orchids grown indoors perform well within common house temperatures of 70–80°F (21–27°C), yet stable culture depends on matching warmth to the species rather than assuming one range suits every plant.
Growing well means you observe origin and habit, because Phalaenopsis aren’t uniform; bellina and venosa prefer near 100°F (38°C) and shouldn’t drop below about 75°F (24°C), while wilsonii and honghenensis tolerate conditions near freezing. Pair bright, indirect light, or grow lights placed roughly 12 inches above foliage, with steady warmth, and keep plants away from drafts, air-conditioning, and heater vents; abrupt swings can leave roots stagnant, interrupt flowering, and undermine cultivated, observational care indoors.
Gradual Seasonal Changes
As seasons shift, orchids respond best when light and temperature change by degrees rather than in abrupt jumps, because leaves, roots, and developing spikes acclimate more reliably when energy demand rises in step with warmth and exposure.
- Harden plants off over 7–14 days, giving brighter, breezier outdoor conditions a few hours daily, which limits scorch and transplant shock.
- Keep days near 70–80°F, let nights run slightly cooler, and avoid sudden drops below species limits; Orchid Society guidance is especially relevant for Phalaenopsis.
- Adjust placement or light weekly, hold indoor humidity near 50%, use a gentle fan against stagnant air, and inspect foliage, roots, and media at each move, because observational checks catch pests and cultivated problems before seasonal stress compounds them further badly.
Balance Humidity and Airflow
In practice, you’ll get the best results when humidity and airflow are cultivated together rather than treated as separate conditions, because most orchids respond well to indoor air that stays near 50 percent relative humidity, while high-humidity species often benefit from 60 to 80 percent if you can maintain it without creating stagnant pockets around roots and leaves.
Use a low fan or steady ventilation so roots and leaf surfaces dry within hours after watering, especially during summer months, and keep at least one air exchange each hour. Match potting mix to conditions; coarse bark and charcoal suit humid rooms, while finer sphagnum or peat supports plants where air stays drier.
Place hygrometers near the collection, watch for nightly dips, and adjust with humidifiers, pebble trays, or added ventilation to preserve stable conditions.
Follow Simple Fertilizer Rules
Treat fertilizer as a measured supplement rather than a central fix, because it’s one of the least important parts of orchid culture, and a plant typically needs only about 5 grams of fertilizer to produce 1 pound, or 454 grams, of new mass, most of it tied to nitrogen demand rather than to heavy overall feeding.
Fertilizer is a modest supplement, not a cure-all; orchids need surprisingly little to build substantial new growth.
- Supply roughly 75–125 ppm nitrogen weekly; if conditions change, adjust frequency rather than strength, which keeps feeding observational and steady.
- Use the dosing rule: divide 8 by the fertilizer’s percent nitrogen for teaspoons per gallon weekly, or 16 biweekly; metric growers use 9.2 divided by percent nitrogen for mL per liter.
- With 30–10–10, apply about 1/4 teaspoon per gallon weekly, and feed mainly during active vegetative growth; stagnant, cultivated good plants need little or none.
Learn How to Rebloom Orchids
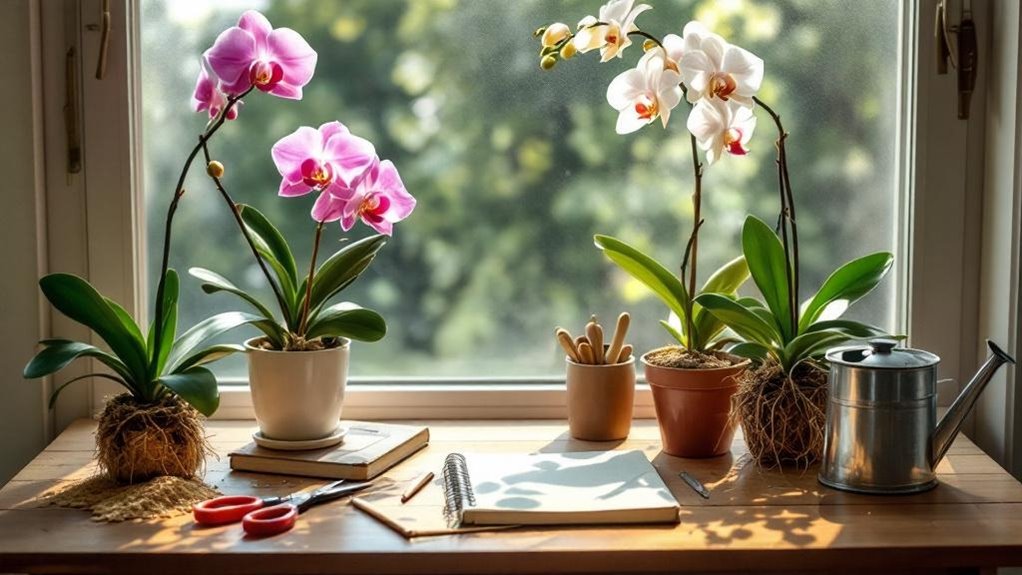
Encourage reblooming by managing the plant’s recovery after flowering with the same observational steadiness used elsewhere in orchid culture, because a cultivated orchid sets buds again only when light, temperature, roots, moisture, and feeding remain balanced rather than excessive; for a spent Phalaenopsis spike, cut just above a healthy node if the plant is mature and vigorous and you want a possible secondary branch, or cut the spike to the base if the plant is young, tired, or better served by directing energy into leaves and roots.
Maintain bright, indirect light, stable growing conditions, and a modest day–night temperature drop; keep humidity near 50%, avoid stagnant air, water about weekly so media dries slightly, fertilize weekly at 75–125 ppm nitrogen during active growth, and repot only as new roots emerge cleanly.
Handle Seasonal Moves Safely
When you shift orchids outdoors for summer or return them indoors for winter, move them through the change over 7–14 days, because cultivated plants respond better to a measured adjustment in sun exposure, temperature, airflow, watering, and humidity than to abrupt relocation, which often causes shock, stalled growth, or leaf damage.
Acclimate orchids over 7–14 days, because gradual shifts in light, temperature, airflow, watering, and humidity prevent stress and leaf damage.
- Inspect each orchid first for pests or disease, and quarantine anything suspicious, because observational care prevents carrying insects between stagnant indoor spaces and outdoor benches.
- Give bright, indirect light outdoors, never direct midday sun; add gentle airflow, which limits burn and supports steadier acclimation.
- Adjust temperatures and watering gradually, keep most common orchids above 55°F, and maintain 40–60% humidity, because moved plants usually dry faster, especially after entering drier indoor air again.
Browse the Best Articles by Topic
If you want a reliable path through the strongest orchid references, begin with “Choosing your first orchid — what to look for,” because it steers beginners toward Phalaenopsis, including minis, and fixes your attention on the signs that matter most at purchase: plump roots, fresh-smelling media, and firm, non-wrinkled leaves.
| Topic | What you learn | Why it matters |
|---|---|---|
| Briefly | Match light, humidity, temperature | Avoid stagnant care |
| Temperature | bellina likes heat; wilsonii cold | Species differ sharply |
| Roots/media | Air, water, void space, texture | Better observational watering |
Then move by topic: read “Orchid Growing in a Nutshell,” then Temperature and Examples, then Water, Roots, and Potting Medium; finish with Potting Strategy and Repotting Timing, so your garden ideas stay cultivated, because repotting at new-root emergence improves adaptation.
Frequently Asked Questions
Why Put Cinnamon on Orchids?
You put cinnamon on orchids to lightly protect fresh cuts from infection because it has mild antifungal properties. Dust clean, dry wounds sparingly after sterile trimming, but don’t rely on it alone for serious rot problems.
Why Are Lady Slipper Orchids Illegal in the US?
Lady slipper orchids are illegal in the U.S. because overcollection devastated wild populations, and trade laws protect them. You can’t legally import many species without permits, so buy documented, nursery-propagated plants instead of wild-collected ones.
What’s the Biggest Mistake When Repotting Orchids?
The biggest mistake is repotting too early—you’re moving the orchid before new roots wake. Like yanking anchor lines mid-tide, you stress it. Wait for fresh root tips, keep airy mix, and don’t overpot.
What Is Considered the Most Beautiful Orchid?
You’d usually find Cattleya considered the most beautiful orchid, thanks to its large, fragrant, vividly colored blooms. Still, you might prefer Paphiopedilum, Phalaenopsis, or rare beauties like the Ghost Orchid, since beauty’s deeply subjective.
Conclusion
By starting with OrchidLore’s beginner articles, you give yourself a cultivated framework, and that structure helps you avoid stagnant habits that often weaken orchids over time; in observational terms, even one well-chosen article can improve every later decision, from roots to reblooming. You’ll also read with more confidence when you know that orchids are one of the largest plant families on earth, with more than 25,000 species, a statistic that makes careful first learning feel proportionate and sensible.